Good evening fellow people,
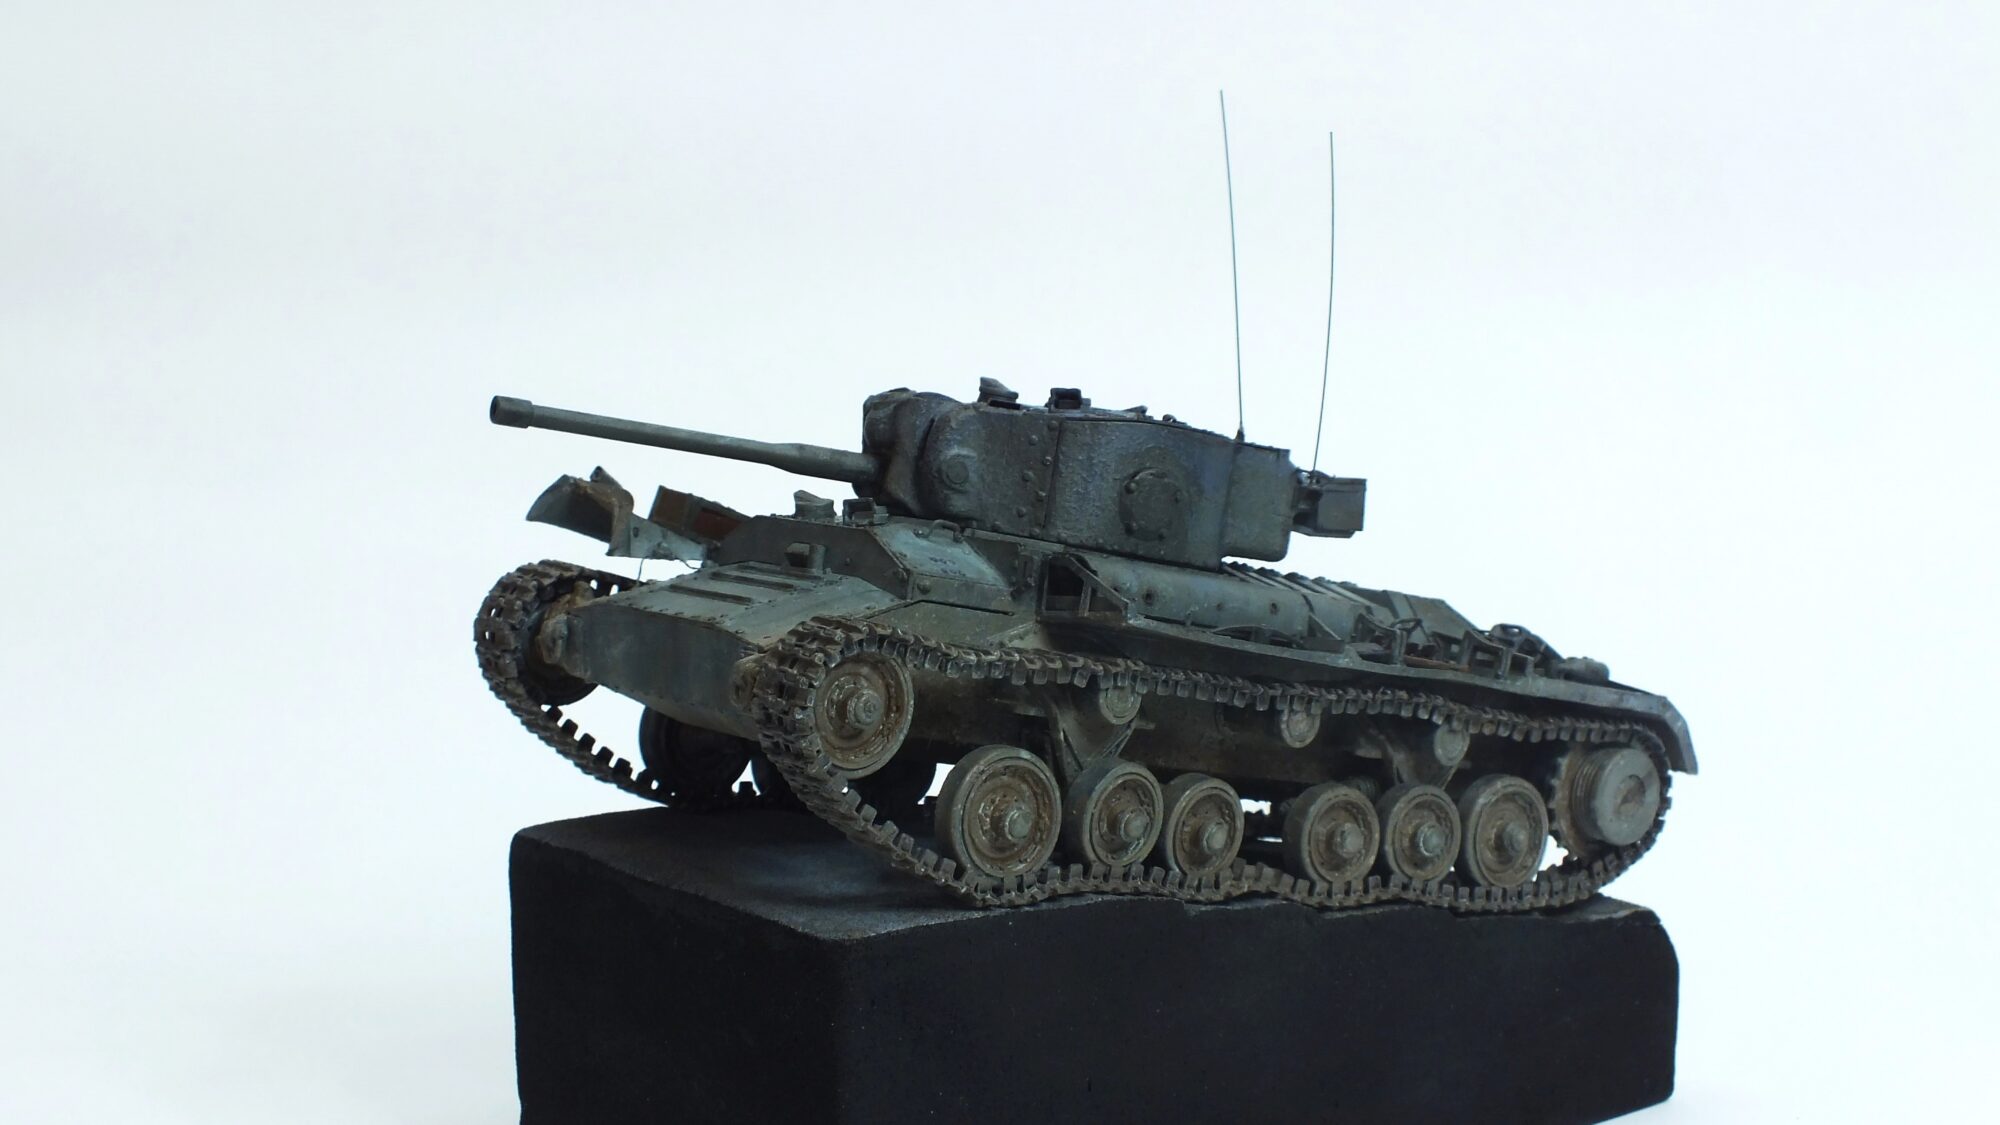
this is now officially the first (future me: “and last”) couple project: Two fairly small tanks to get things started: The good old reliable infantry Tank MK.III Valentine MK.IX and the cute Type 95 HA GO. This article will mostly focus on the Valentine, since it was my part. The Type 95 will make an occasional appearance, but more details can (most likely) be found in the blog by my girlfriend. Both of these are complete out-of-box builds, since these were her introduction to the Hobby, thus I did not want to complicate the process any more than it already is.
Materials:
Valentine MK IX:
Infantry Tank Mk.III Valentine Mk.IX – Bronco CB35144 scalemates
bits-and-pieces box
Type 95 HA GO:
IJA Type 95 Light Tank “Ha-Go” Early Production – Dragon 6767 scalemates
bits-and-pieces box
Pre-build – Why these two cuties?
For this project I decided to let my gf go first in choosing the model in order to give her a pleasent experience with a model she liked. She decided on the cute Ha Go. Why exactly? I of course can’t tell, since I am unable to look her into the head, but what I am able to say is why I chose to go with the Valentine. The reasoning behind this was pretty simple. I already knew that she would be taking longer, thus I decided to take a longer more complex model. Since the Valentine by Bronco was already in my stash the decision was fairly simple.
Construction – straigt forward, but also completly improvised
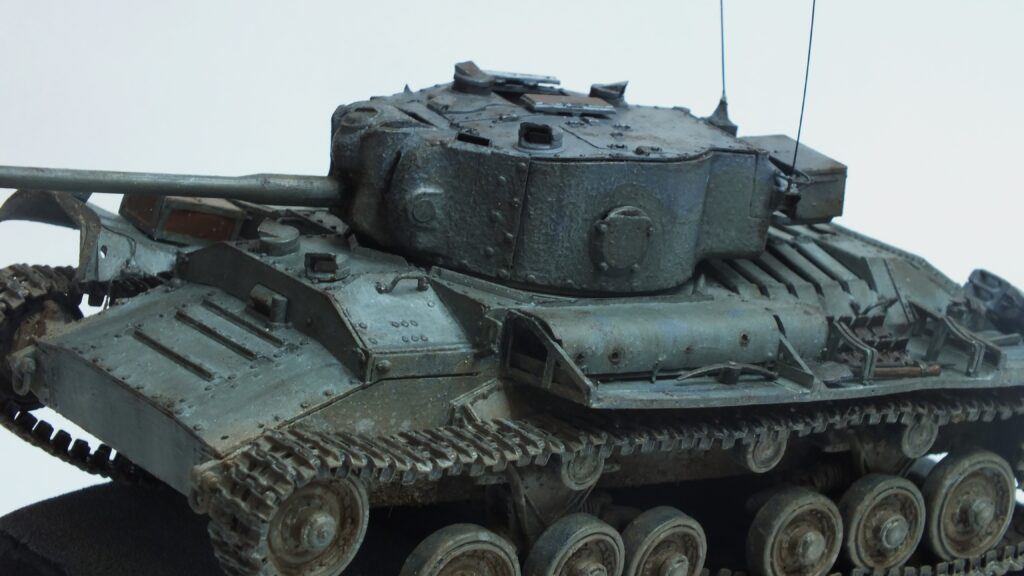
Since I wanted to help her during the entire build I decided against any form of aftermarket or extraordinary things for this model. The initial plan was to give this little fella the full treatment (metal tracks, photoetch, resin stowage, metal barrel, etc…), but that place was anyways at that time already taken by the T-80. So the usual procedure: assembly, battle-damages, bent fenders, cast-textures and some stowage, but where is the bucket of doom you may ask? Well, atleast the remnants of it are still there. (In truth I simply did not find an appropiate place for it to be.)
In parallel I taught most of these things to her excluding the cast-textures to simplify the process. The Base was also already made in advance to the build itself being a loose replica of a historic image showing a soviet lend-lease Valentine MK. IX climbing some stairs (I did not bother to research the exact location). The original idea was an exact replica, but since this was not possible from the new beginning, I took my artistic liberties and used it as a loose inspiration mostly for the composition of the Diorama.
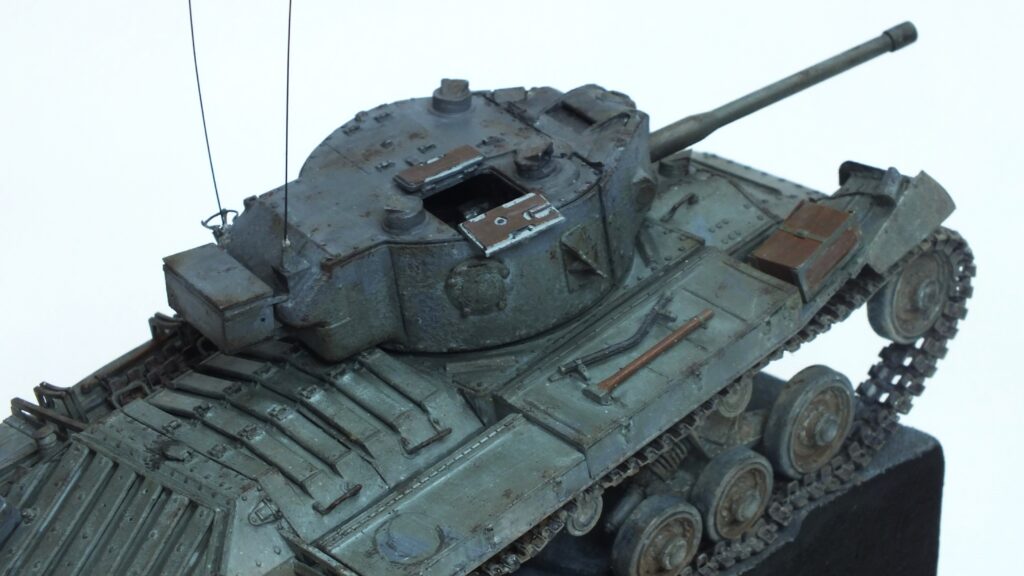
Painting – mickey mouse has entered the battlefield
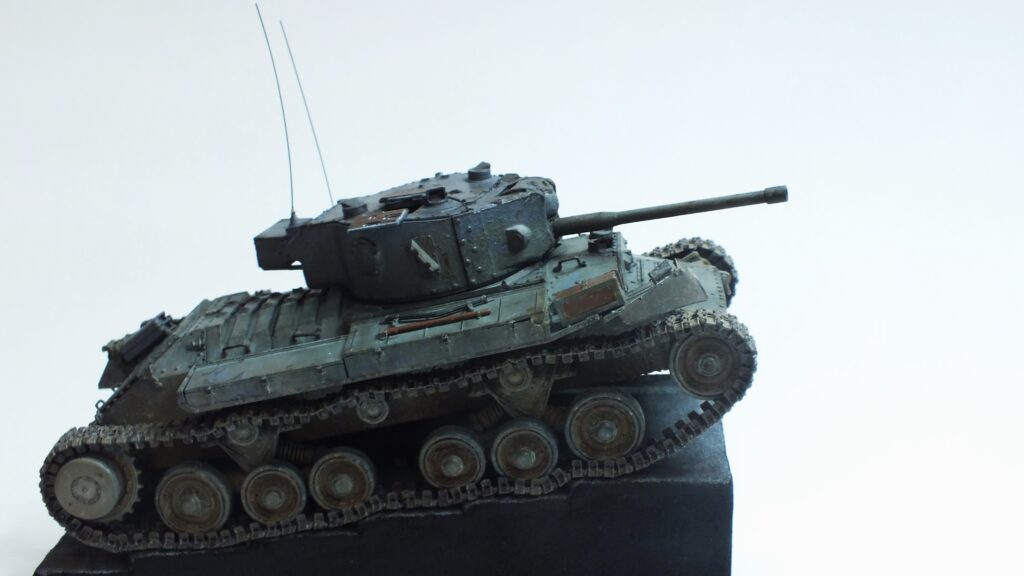
Since during the build it was decided to take some artistic liberties I continued to do so during the painting. I decided on the mickey-mouse camouflage scheme found often on Trucks and support vehicles of the british of WW2. My idea behind this was that the tank was used by the americans under some circumstances (great storytelling) and was painted this way by them because of them not having the knowledge of the exact camouflage schemes and only seeing these on the trucks and other vehicles. This atleast is the basic idea behind it. Not the most plausible, but I still like the pattern itself and found it to be fitting here.
Weathering – a new take on a well known color
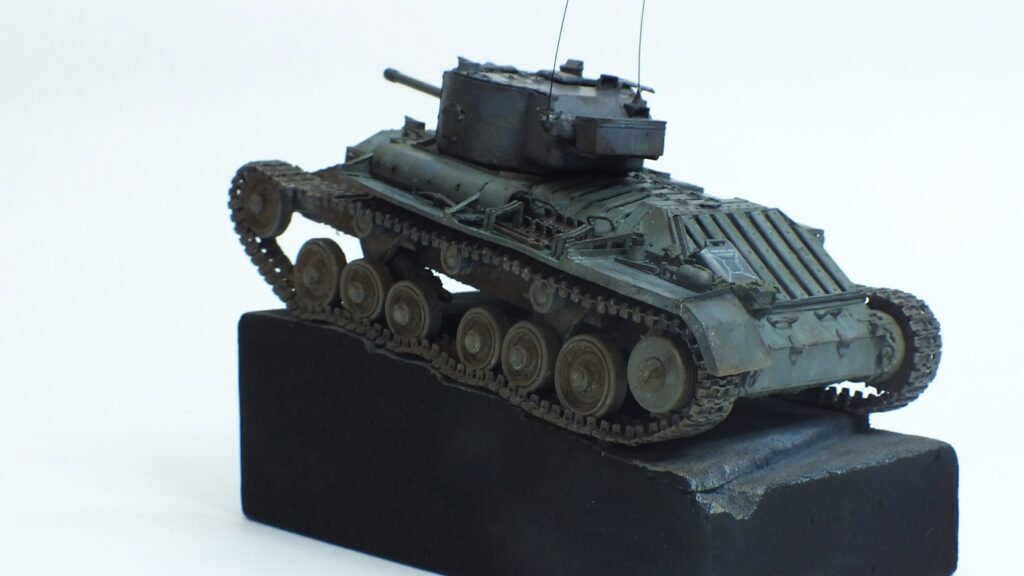
After the basic composition of the Diorama was already mapped out in the construction now it came to making them look half-decent. Since the base color was my usual choice of green, being grüngrau (grey green) by revell (ral 7009) I wanted to change it’s feel to not carry my typical russian style. Thus I decided to use lighter blue-ish colours for the discoloration. This gave the model in my opinion a nice faded look. The rest of the weathering was carried out in my typical way. Right after the very light discoloration a pinwash and artificial shadows with a black wash, followed by three-layerd chipping. The mud treatment also recieved a minor change of action. Now including more saturated brown colors, which really helped to get a contrast with the blue from the discoloration. After that details, stowage and oil-stains were painted in the usual maner.
The diorama was kept very simplistic, only consisting of a grey base-coat with light grey and brown dry-brushing.
Pictures – now finally, the reward after that long read
Or not if you just skipped here, do what you want, here they are anyways – enjoy:

Post-build decent, but with some small problems
In general I am very much satisfied, both with the kit and the result. First a word about the kit: It is a usual bronco kit, lots of parts, great detail, good fit, for advanced modelers an absolute recommendation and lots of fun, even without any aftermarket. Now about my result: Except for a few errors I am pleased, still there are some thing to keep in mind: first and foremost: The colors of the camouflage are way too similar not giving enough contrast in any way. Second: The abscences of markings really hurts this tank. I excluded them to ease the process for my girlfirend, but the effect clear shows negatively in the result. And last but certainly not least: The diorama feels not connected well enought to the model. I can’t exactly point out the problem, but something bothers me. But enough of the complaining. In my opinion it is still a great model and I especially like the discoloration, chipping and new mud-weathering.
Until we meet again.
I like this weblog very much, Its a very nice situation to read and obtain info.Raise your business
Hey people!!!!!
Good mood and good luck to everyone!!!!!
Howdy! I simply would like to give an enormous thumbs up for the good info you’ve gotten right here on this post. I will probably be coming back to your blog for extra soon.
Some really nice stuff on this web site, I enjoy it.
Hi my loved one! I wish to say that this article is amazing, nice written and come with approximately all important infos. I would like to peer more posts like this .