
Good evening fellow people,
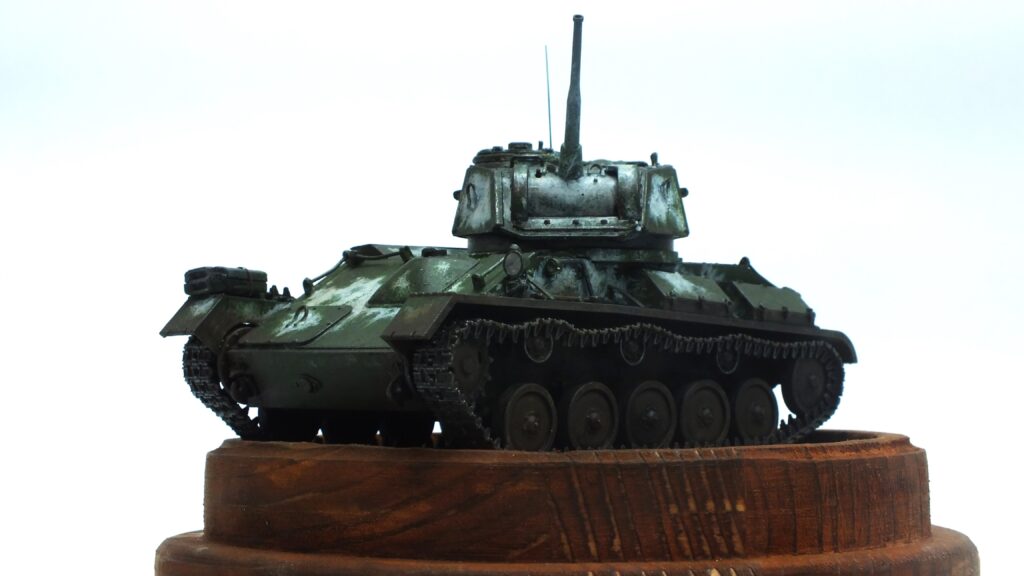
as my greetings still haven’t gotten any better we will just dive right into the subject for today. The construction already has its seperate detailed article, thus I will only be talking about everything happening from there on. But what do we even have here today? A little cutie once again – the small T-80 light tank in a heavily worn winter white wash. The special thing? It is done without chipping fluid or an airbrush. So let’s get right in:
Materials
T-80 Soviet Light Tank – MiniArt 35117 scalemates
bits and pieces box (including stowage, styrene sheets, wire, tape, left-over PE and a few more)
Priming and Base-colour – everthing according to plan?
The first step to a good paintjob? A good primer. My choice, as with all my models was Mr.surfacer 1200. Works like a charm. Coming afterwards was the base-paintjob. Just a plain vibrant 4b0 green with the usuall details. Colors of choice were Vallejo model color and Revell aqua color painted by brushed ranging from 5 to 0. Following this I opted for a combination of bright and vibrant greens to act as highlights. Shadows were not required, since the base-color was already dark enough. At this point the plan was still to keep it at just green to act as training for the ISU – but that would be boring. (Why does that not surprise me at this point?)
Brush painted winter white wash – nothing according to plan!
Now onto my “special” idea, or rather dumb, that depends. Well, it is done now, so how did i do it? The obvious paint to use was plain flat white. That was also the only one. The first stage was sponge chipping to create a nice uneven coat of wgite on the most dominant sections. Following that came another layer of chipping in the base-color in order to represent the usually wear on the exposed surfaces. Next the most important step: Very diluted white paint. The white looked very dull and not hand applied. I used this paint to creat lots and i mean LOTS of irregulary squiggels and streaks within and outside of the white areas. After that another round of highlights for the green was required, since it lost a lot of the virbrancy.
Normal weathering and finishing – back to familiar
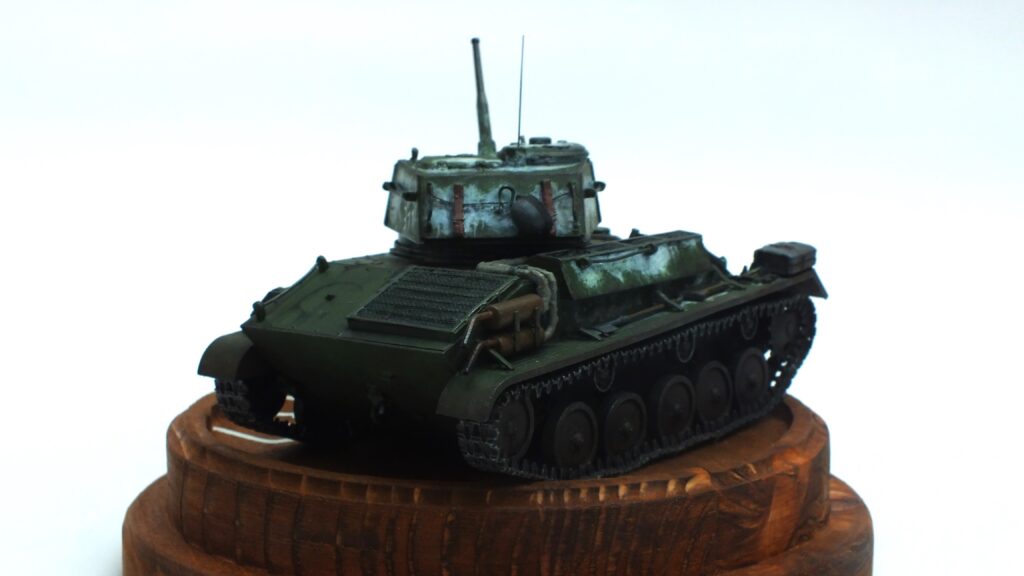
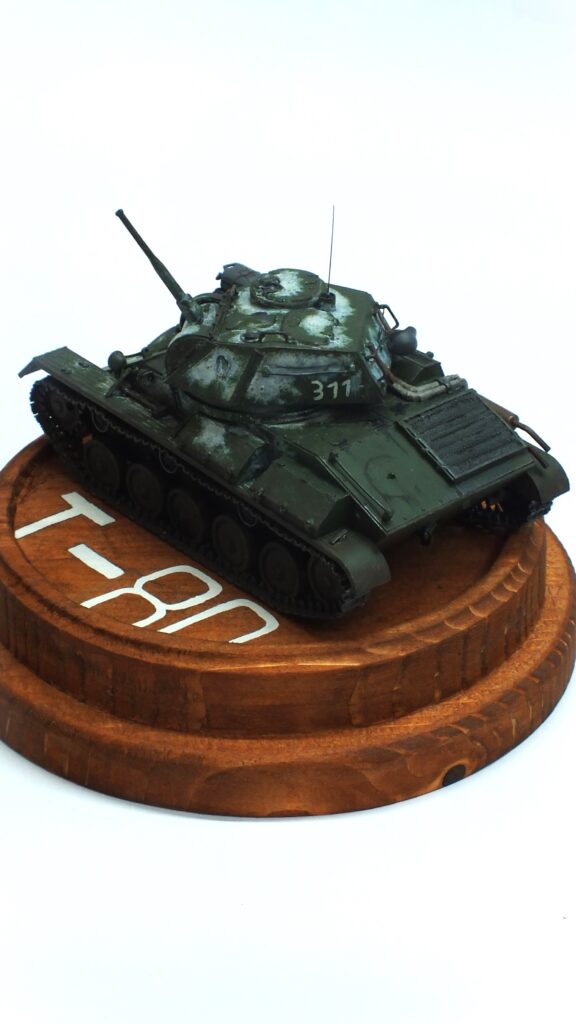
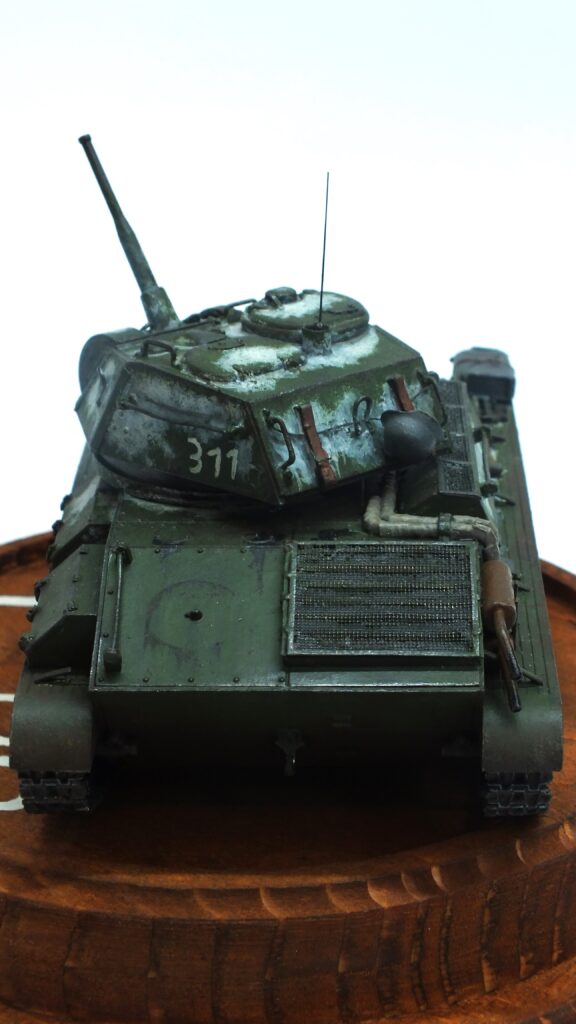
Well, now that i have that out of the way I can go back to the usual. At first I began with a good old pinwash and artificial shadow using a plain black wash. Next up: 3 layerd chipping: first with a lighter base-color, then dark-rust chips and lust a light rust wash. After that detail painting and weathering. All of these will eventually get their own article, but not so far, but hope to do so in 2024. The part that really pushed me to the edge of my possibilities was the dark mud. I am still not really confident with dark heavy mud since i usually only do light mud or dust. Here one critical mistake I made was to build up too little volume which lead to it looking rather dull in the end. Last but not least were oil stains on the Hull and tracks, as well as silver details both with silver paint on the running gear and plain pencils on the rest of the tank. To finish the T-80 I added a small antenna made from stretched sprue. The Base was made by a friend of mine with added wood stain and hand drawn lettering.
Pictures – what would be a good article without some pictures?
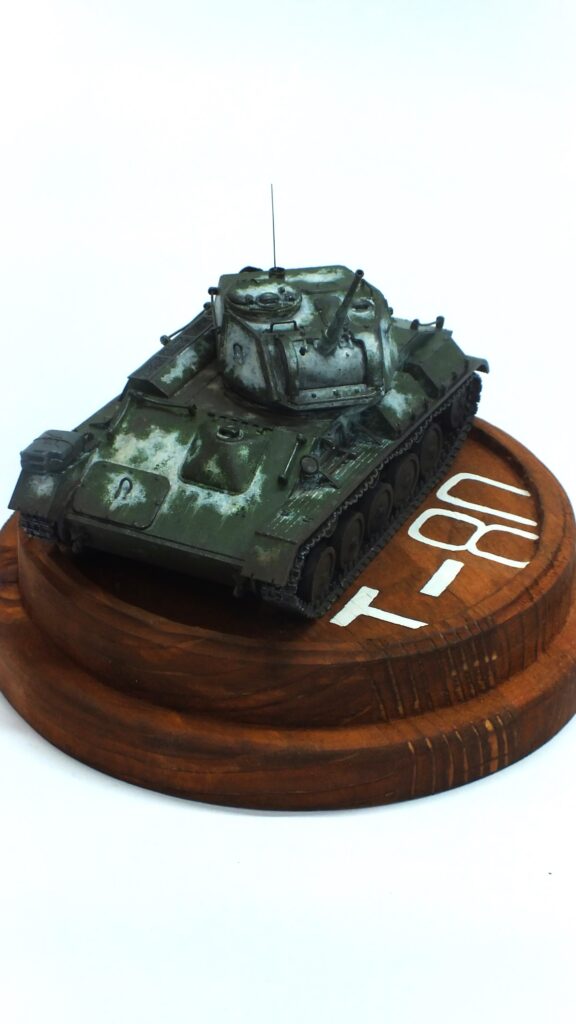
Post-Build – very satisfied, except…
Overall, as the title states, I am extremly satsified with the result, especially the winter white wash. In addition I think all of the details added during construction now really pop like this. Especially the straps on the turret or the heat-sleeve on the exhaust. Only two things bother me: The texture and color of the mud. In my opinion it has too little texture and variation in its tone. But that is something to be done in another build.
Until we meet again.
As I web site possessor I believe the content material here is rattling wonderful , appreciate it for your efforts. You should keep it up forever! Best of luck.
Saved as a favorite, I really like your blog!