Now that the paintjob is completed the only thing left to go is the diorama, for which there is already a basic plan in place. Thus I also already have a name for the t55, now called “Warrior of the fallen city”, but now back to the model as the diorama will have its own article later on.
Now as usual let’s take a look at the materials used:
Material
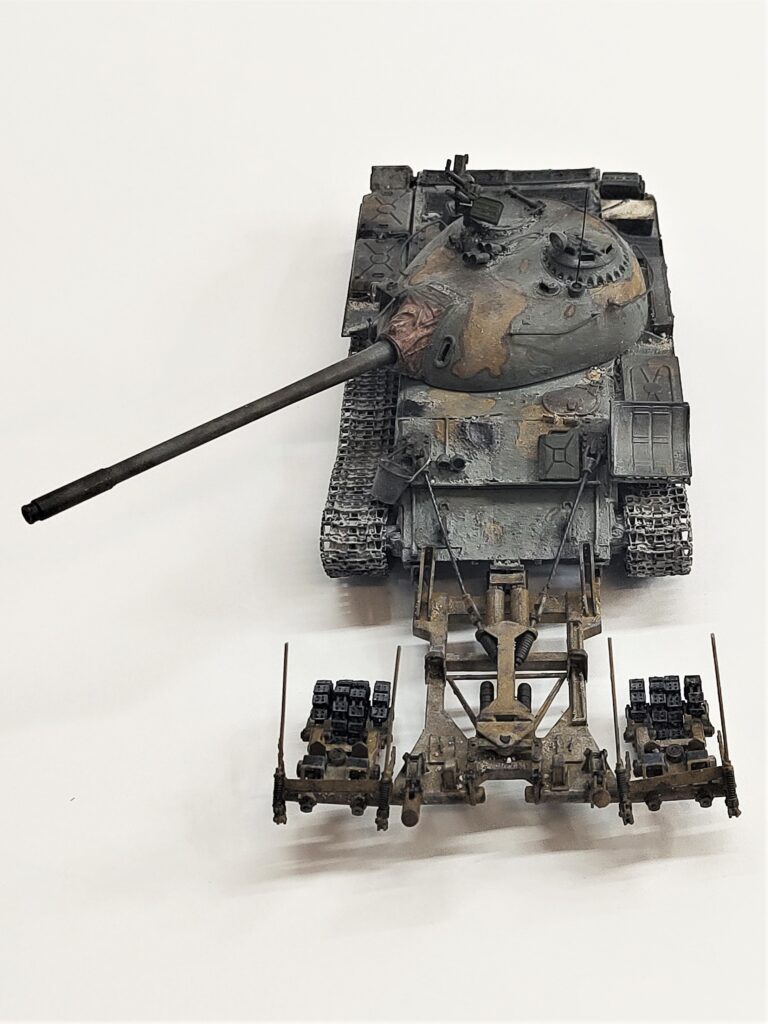
Tiran 4 late version – miniart 37041 scalemates
kmt-9 mineroller – miniart 37040 scalemates
your typical “bits-and-pieces” box
Vallejo and Revell acrylic colours, ak enamle colours, vallejo dark and rust wash
Last Modifications
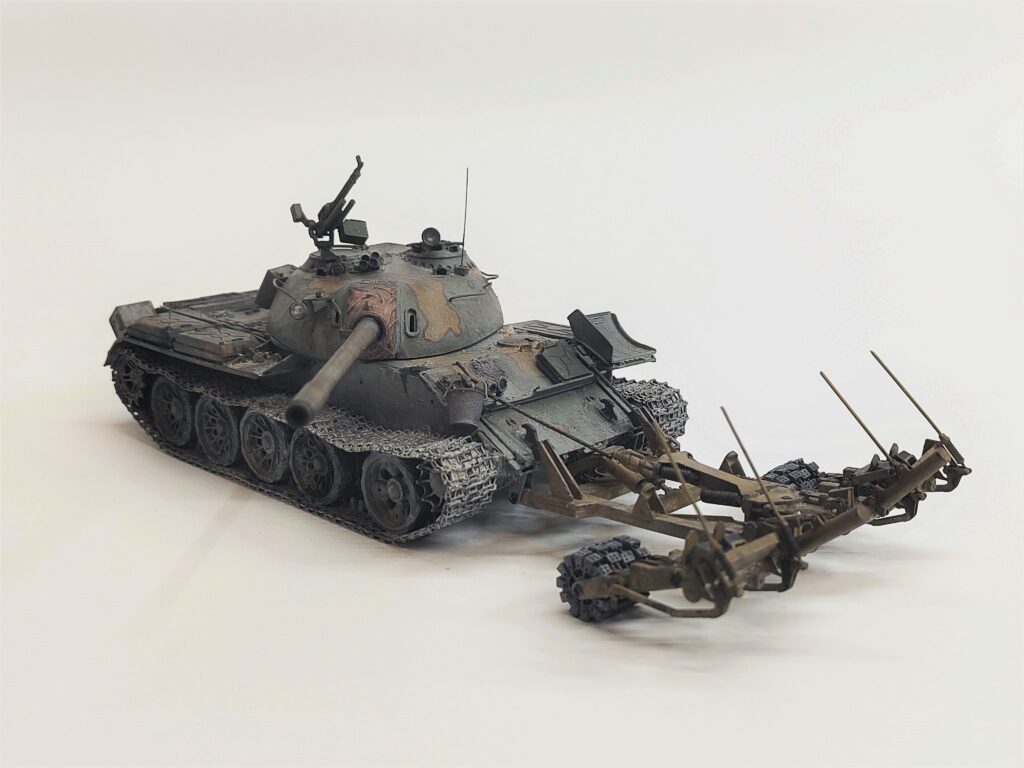
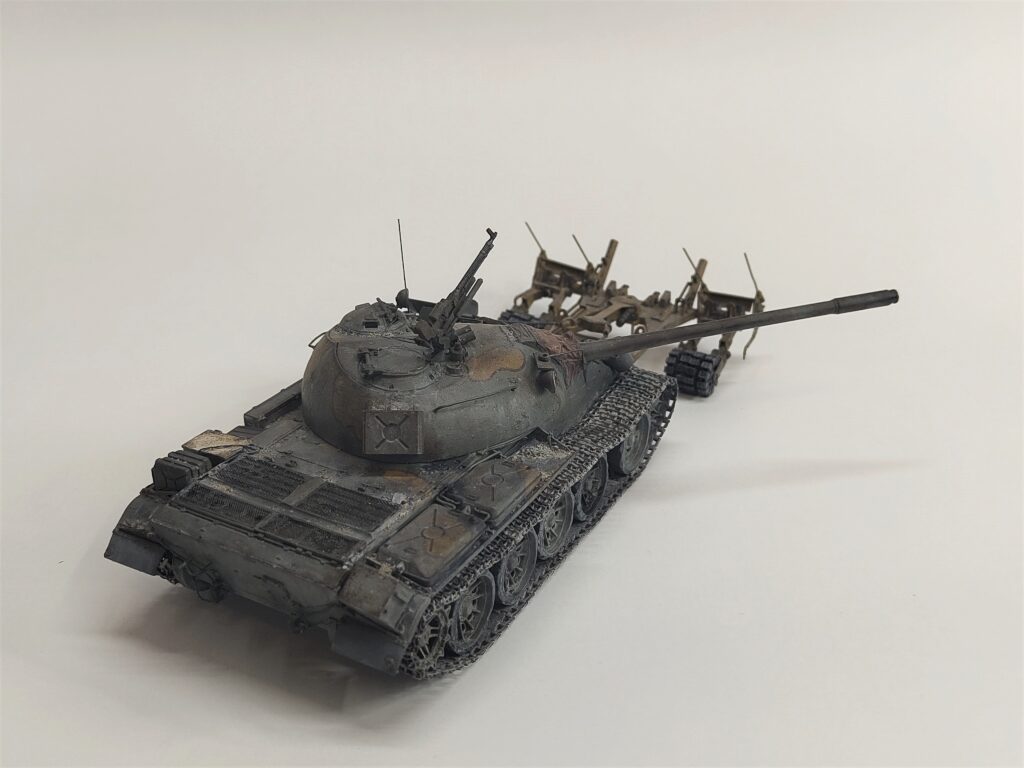
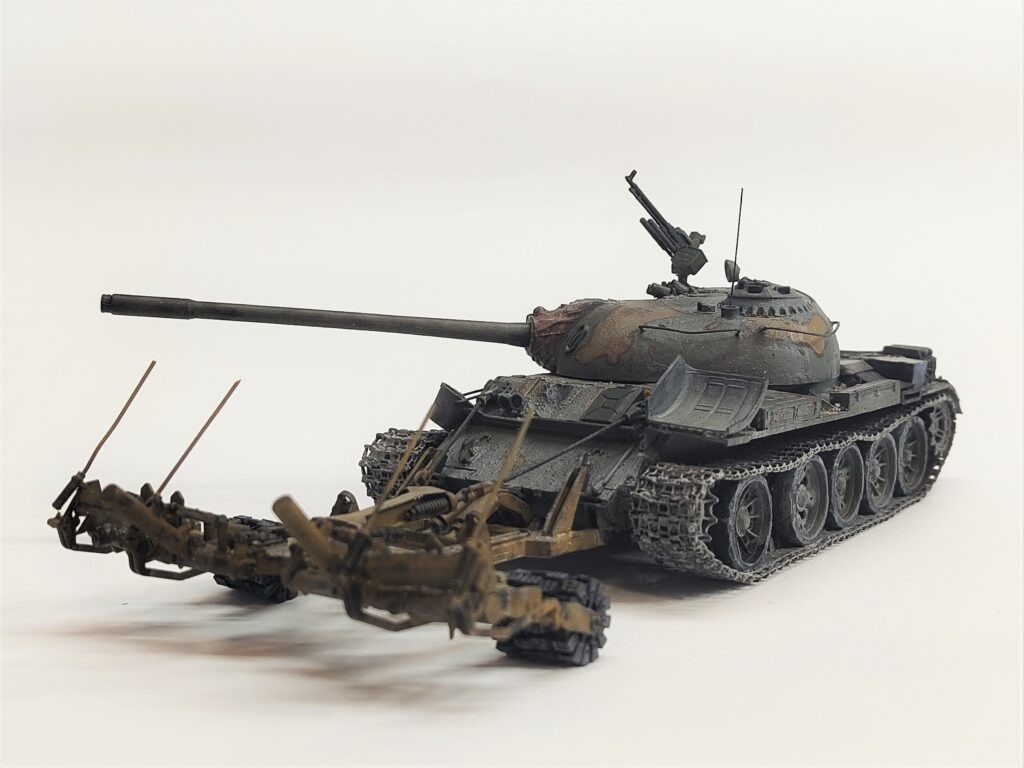
After the previous article, which was supposed to be the last one on the construction, some things were changed since then. The rebar-cage and the additional MG were removed, since I was not satisfied with the result and the HMG was an american m2.browning not used in the syrian civil war. Instead the missing handlebar and an additional box was added to corrisponding reference pictures.
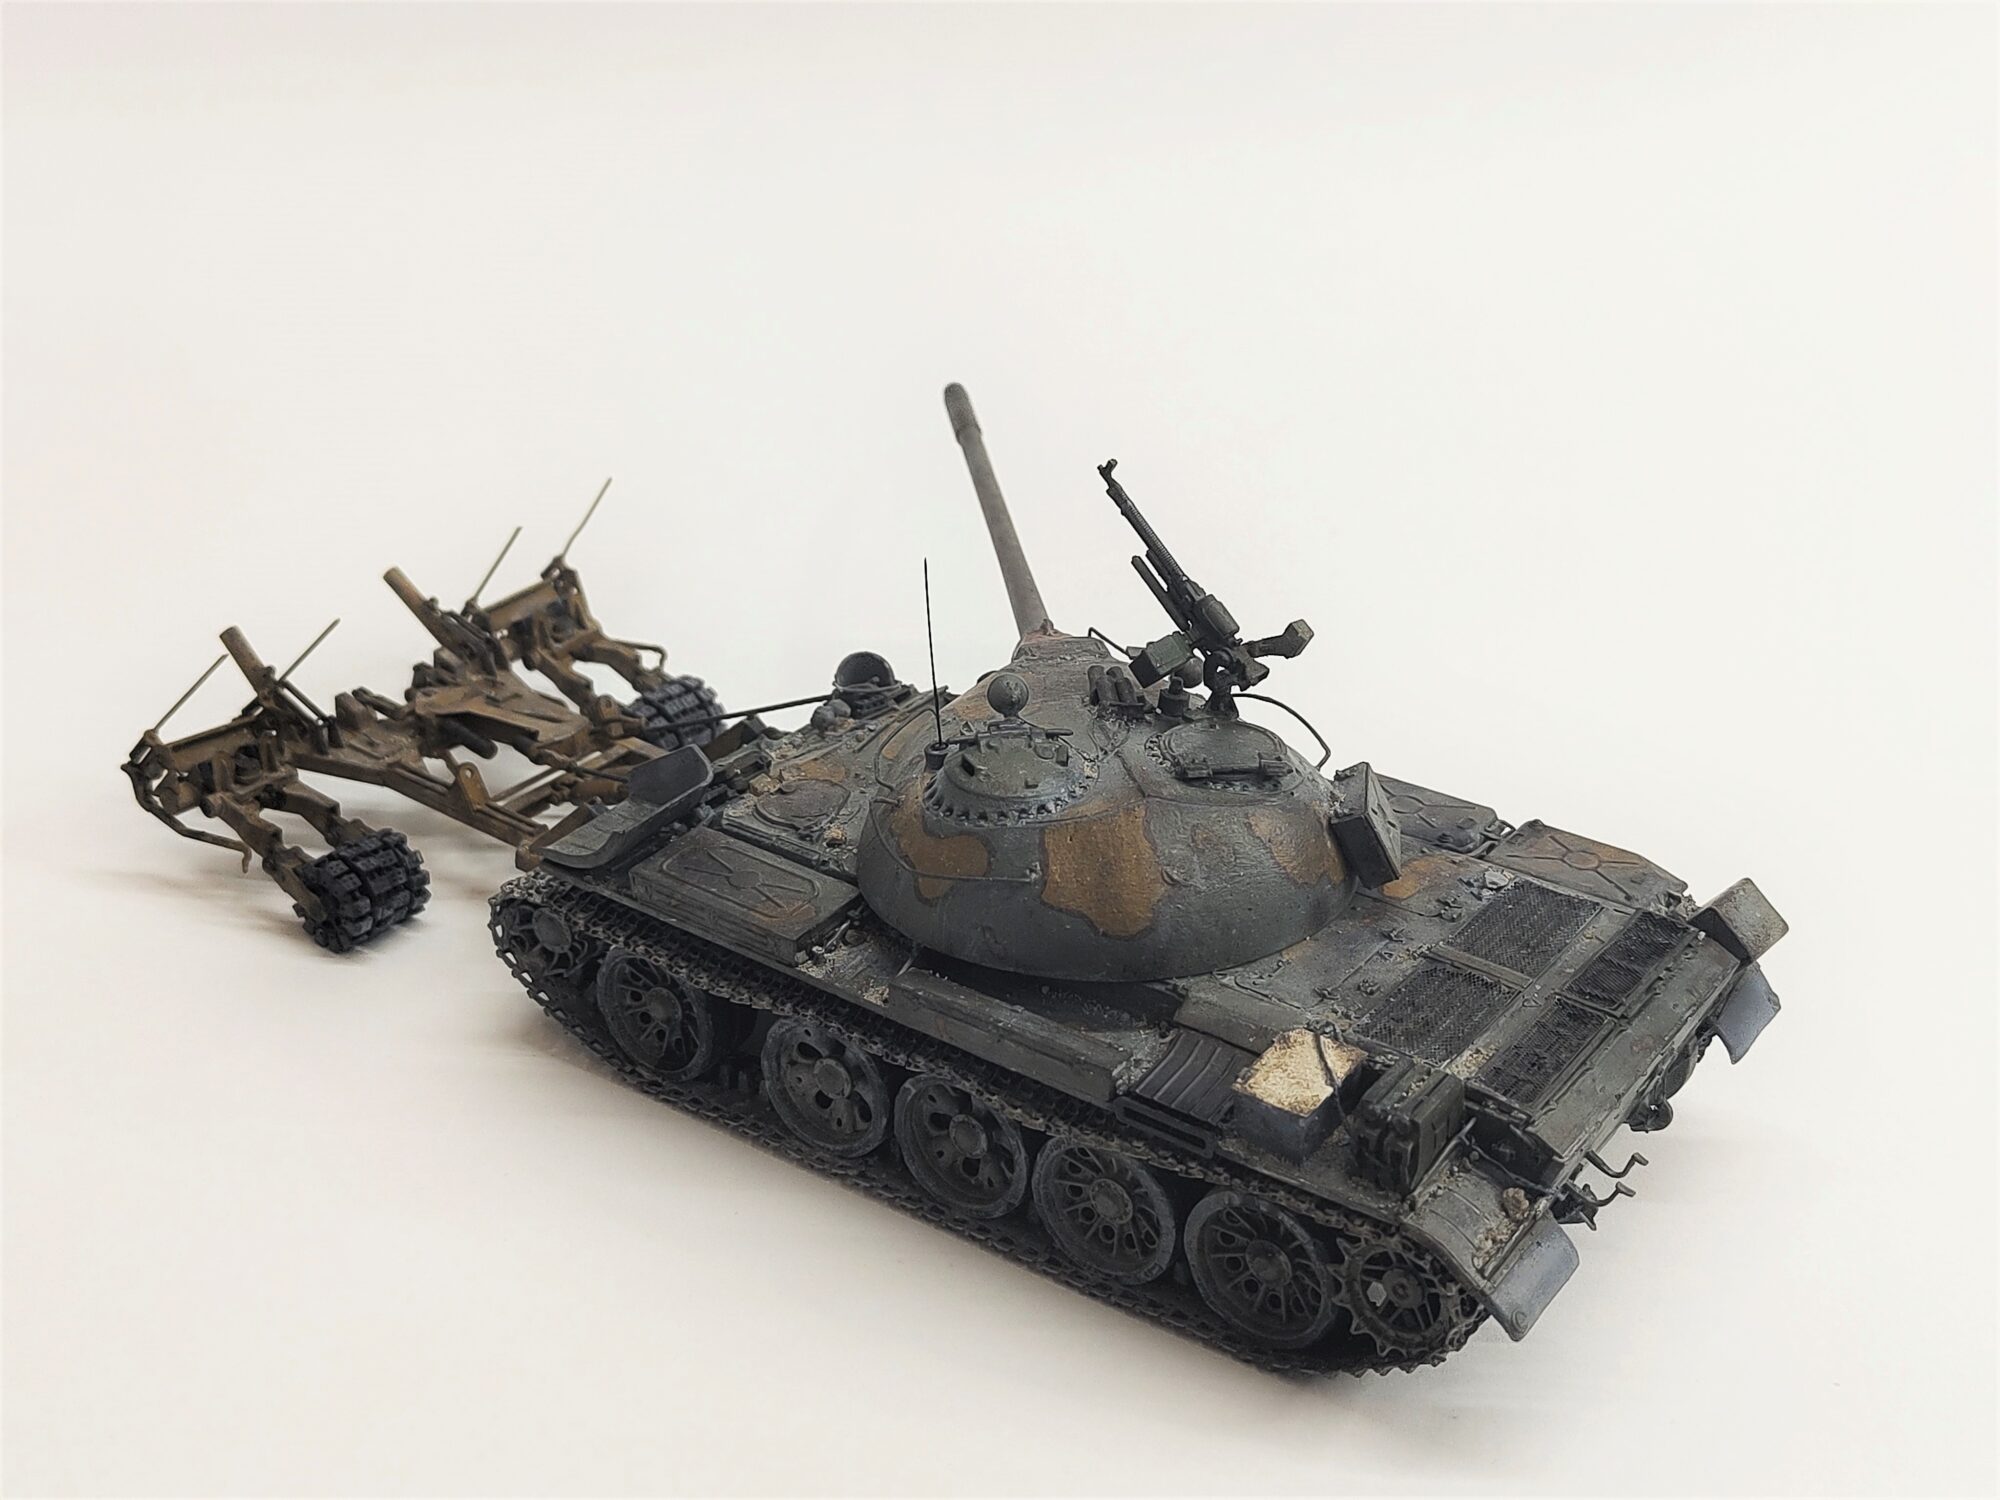
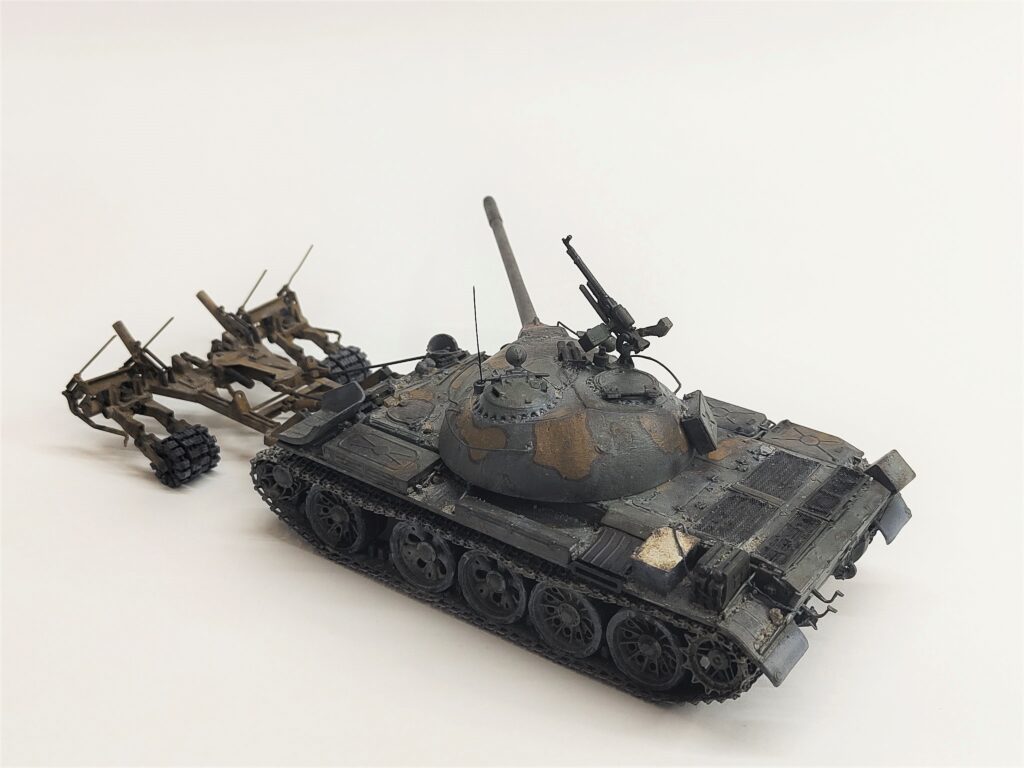
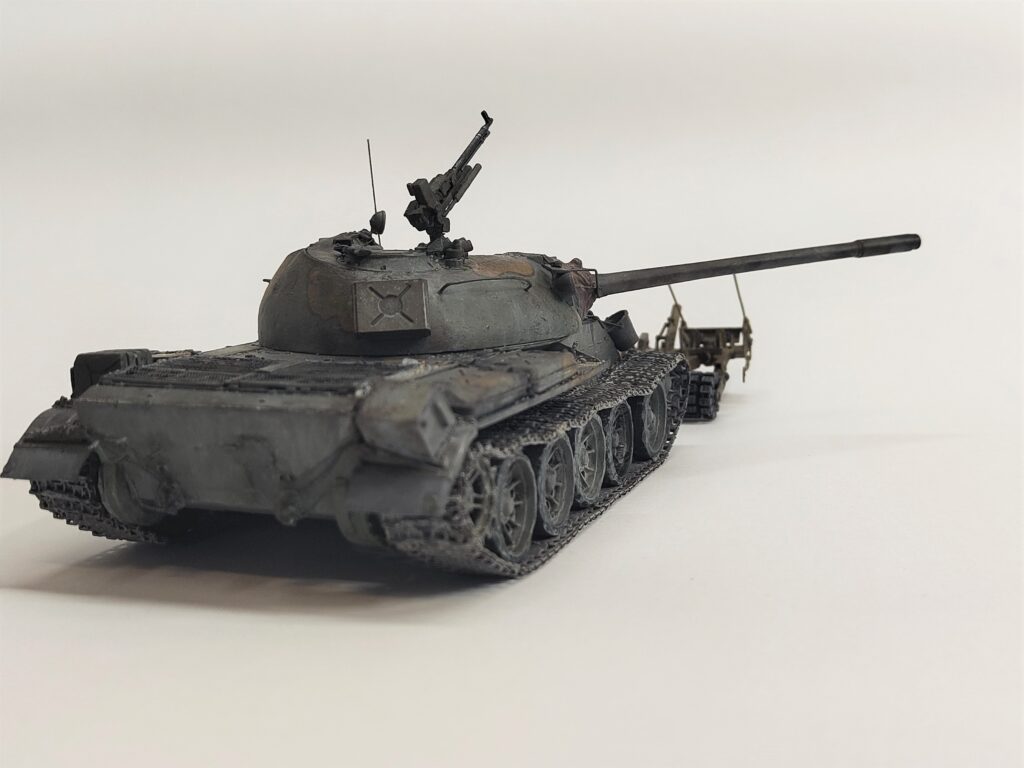
Base-paintjob
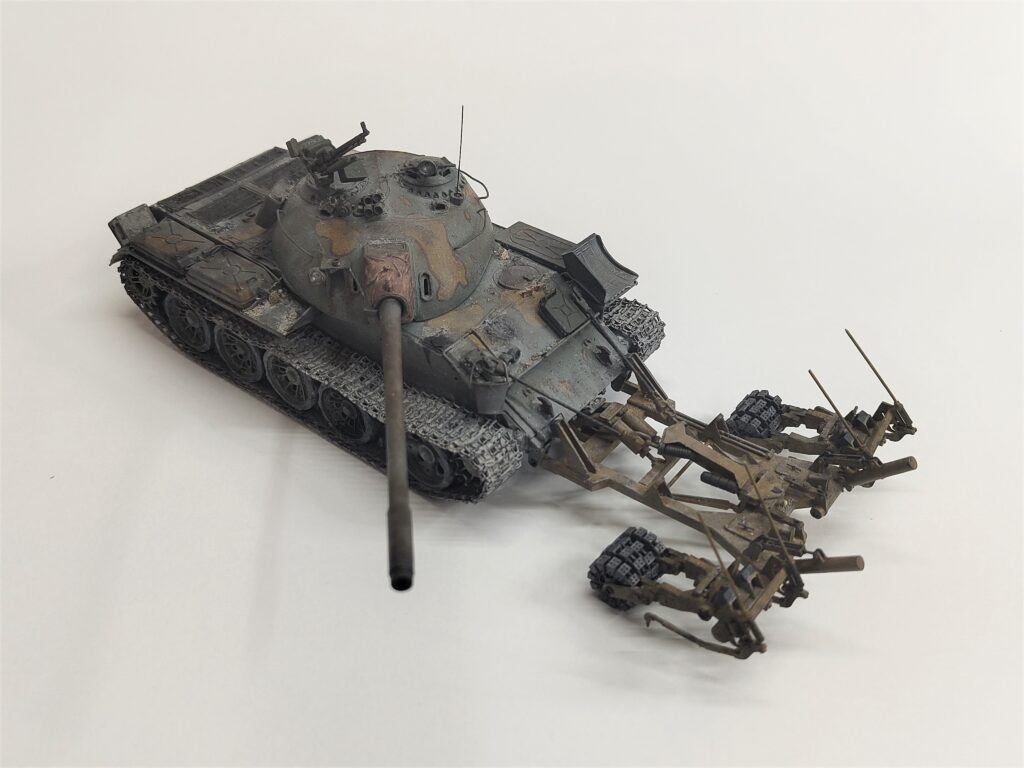
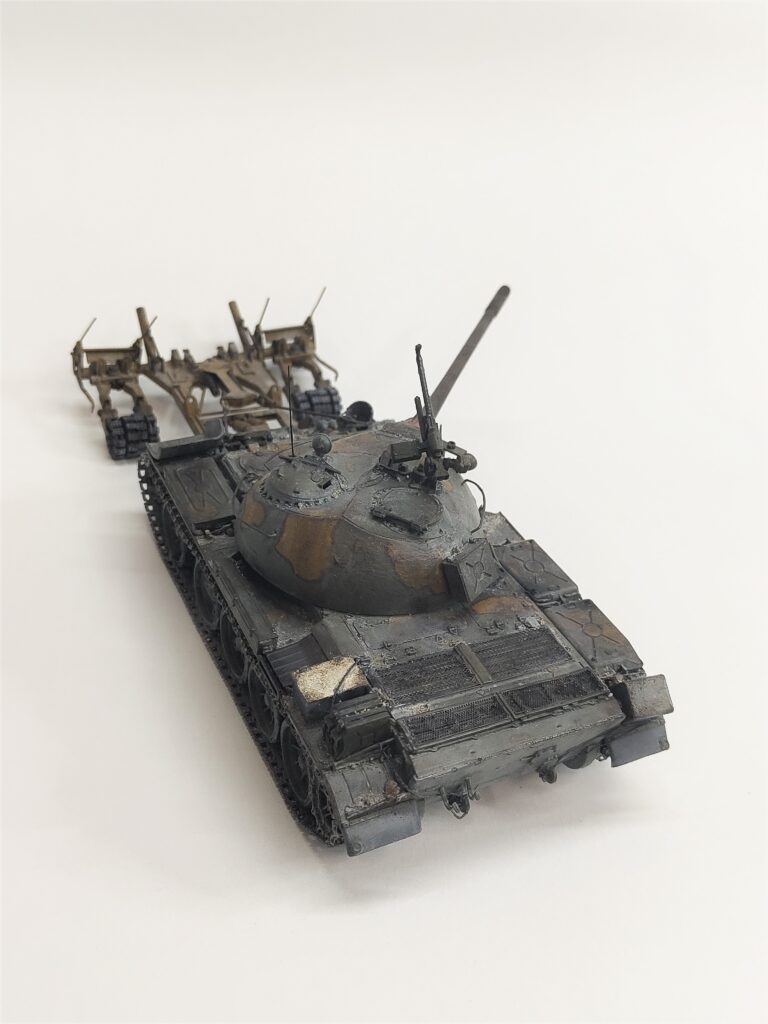
Here I opted for a base of sun-bleached Russian-green with the additional camo-pattern being added later by the crew. The same colour as in the camouflage was used on the mine-roller to make a clear distinction between each but still connect them. Afterwards all the details were painted including the fuel-canisters, boxes, roadwheels and all other details in their appropiate colours. It is noteworthy, that the track was basecoated in a redish-rust colour to act as the base-coat for further weathering. The points where the original steel-colour would be visible were then added seperatly.
Weathering
As the setting of the diorama is in the syrian civilwar I decided on a very used look typical for the older vehicles of this conflict (which the T55 at this point certainly is). This would also enhance the decisions already made during the build, like the missing fender, added box and also the camo painted by the crew. This resulted in a very heavily chipped and general worn vehicle with a good chunk of debrie to finish the look. The first step was as always a slight discoloration of the basecolour followed with a black pinwash and creation of fake shadows to enhance the details on the models surface. Even though this is not really visible in the end, I believe it is a good thing to do anyways, since it adds a lot more interest even without too many effects applied. Afterwards the chipping was a typical 3-layer sponge chipping. First a lightened basecolour, then the dark rust/steel chips and lastly a rust-wash of enamle-colours. The oil-stains consist of multiple layers of a darkwash being blended to result in either multiple layers of stains (like on the filler-caps of the fuel and oil tanks) or a smooth transition (like at the exhaust or end of the gun barrle). The texture of the debrie was first made up of regular sand as well as bird-sand from the local pet-shop. These were then unified in colour with an enamle-wash (dust effects from ak) and later detailed with individually painted stones and colour transitions achievd with acrylics. The same was done for the running-gear. As the last layer of paint all of the raised edges and exposed metal was highlighted with a light pass of a graphit-stick (aka pencil). Last but not least a small antenna of heat-stretched sprue was added to complete the look.
Pictures
Conclusion
Not really a complete conclusion, but one for the painting. In general i am very much satisfied with the result when considering the circumstances, but in the case that this model would have been build in one coherent way the result could have been better. Not to get me wrong, I believe the result turned out good, but it is a project worth repeating to see an improvment (or a similar one like a T62 or T72)
Any opinions, improvemnt, criticism or ideas for the diorama? please let me know that, just leave a comment directly or contact me by any means to your liking.
I also believe so , perfectly composed post! .